The First Step to Flawless New Floors: A Guide to Debris Removal & Subfloor Prep
There’s nothing quite like the excitement of choosing new flooring. Whether it’s sleek hardwood, cozy carpet, or modern laminate, it’s a decision that completely transforms a room. But before you can enjoy that fresh, new look, there’s a crucial first step that’s often overlooked: dealing with the old floor. Tearing out existing flooring and handling the mountain of debris is a tough, messy job. For homeowners embarking on renos in the Gananoque area, it can quickly turn an exciting project into a logistical headache.
This guide walks you through the essential steps of flooring removal and subfloor preparation. We’ll cover why professional demolition and debris disposal are critical for a perfect finish, ensuring your investment in new floors starts on the right foundation.
More Than Meets the Eye: The Reality of Flooring Removal
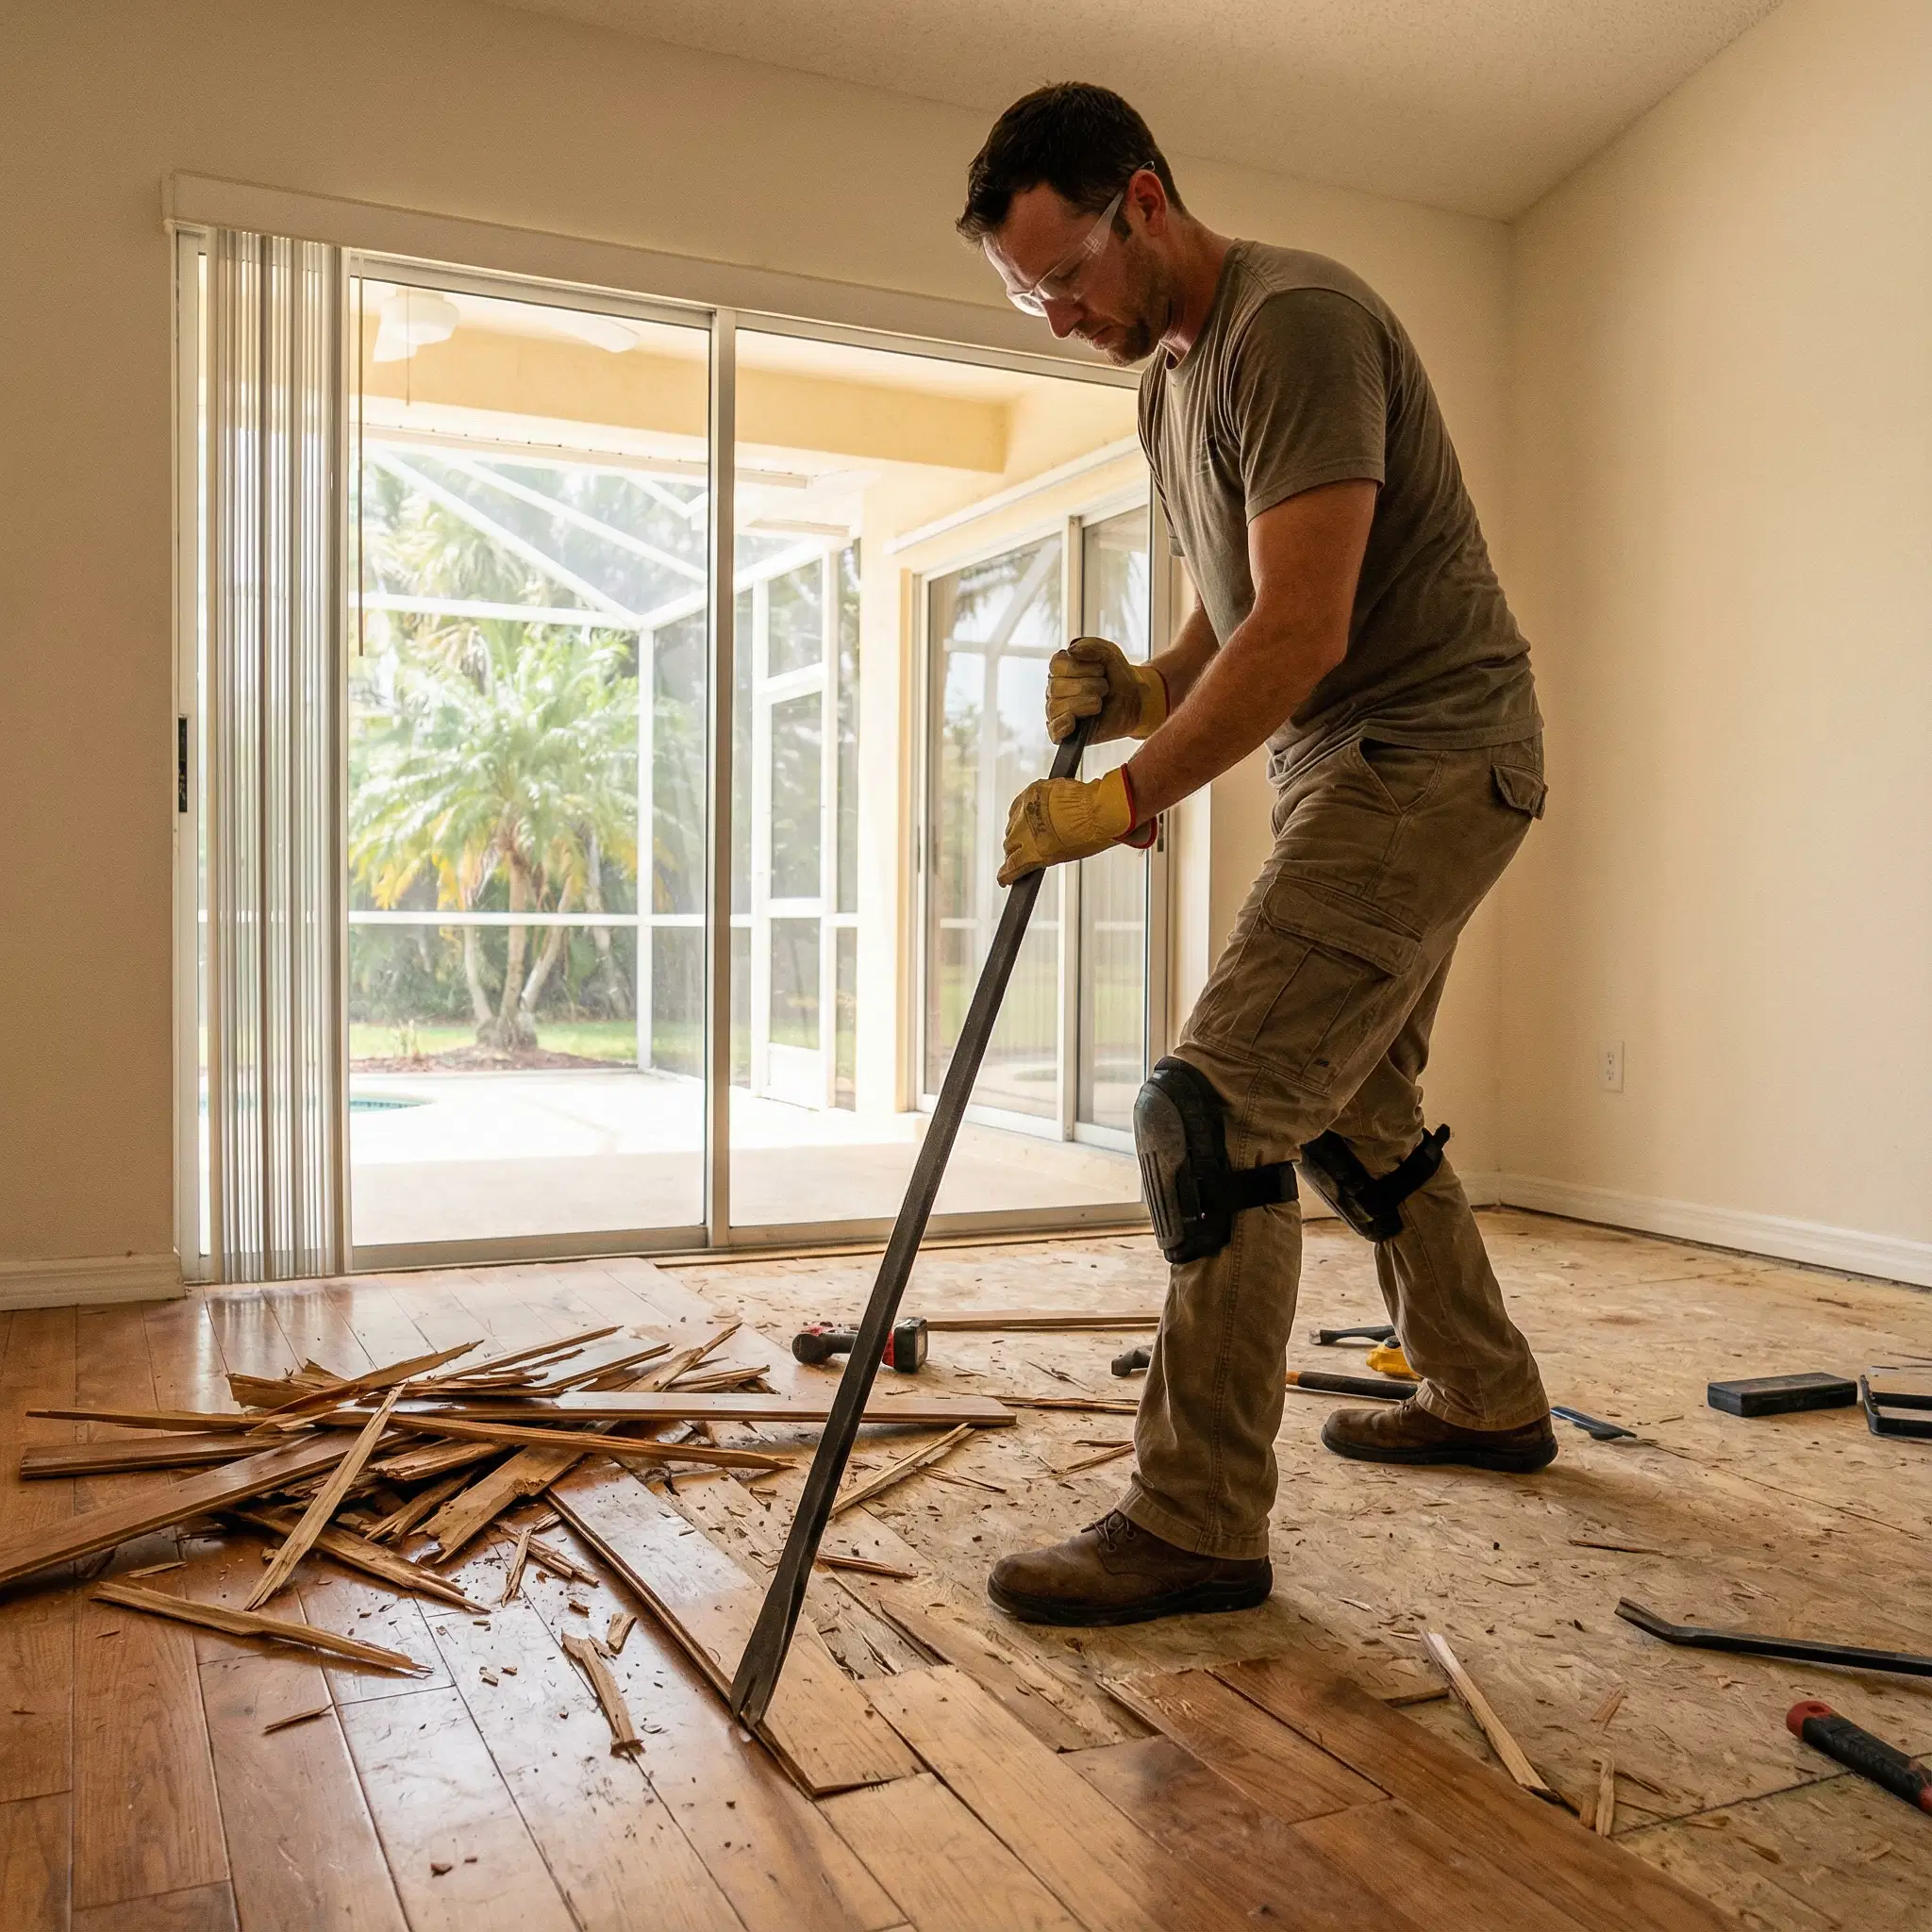
Removing old flooring is rarely as simple as just pulling it up. Different materials present unique challenges that require specific tools, techniques, and a good amount of hard work. It’s a true demolition task that sets the stage for everything that follows.
- Carpet Removal: This involves more than just rolling up the old carpet. You also have to contend with the underpadding, which can crumble and create a mess. The real work lies in prying up hundreds of staples and the sharp, nail-embedded tack strips along the perimeter of the room.
- Hardwood and Laminate: Depending on the installation method, these floors can be nailed down, glued, or floating. Glued-down floors are particularly challenging, often requiring significant effort to scrape the boards and adhesive from the subfloor without causing damage.
- Tile Demolition: Removing ceramic or porcelain tile is the most labour-intensive and messiest of all. It involves breaking up each tile with a hammer and chisel or a power tool, which creates a significant amount of sharp debris and fine, hazardous dust that can spread throughout your home.
Handling this first stage correctly is a key part of any interior demolition project. A clean and thorough removal prevents problems down the line and makes the next steps much smoother.
Setting the Stage: Why Subfloor Preparation is Non-Negotiable
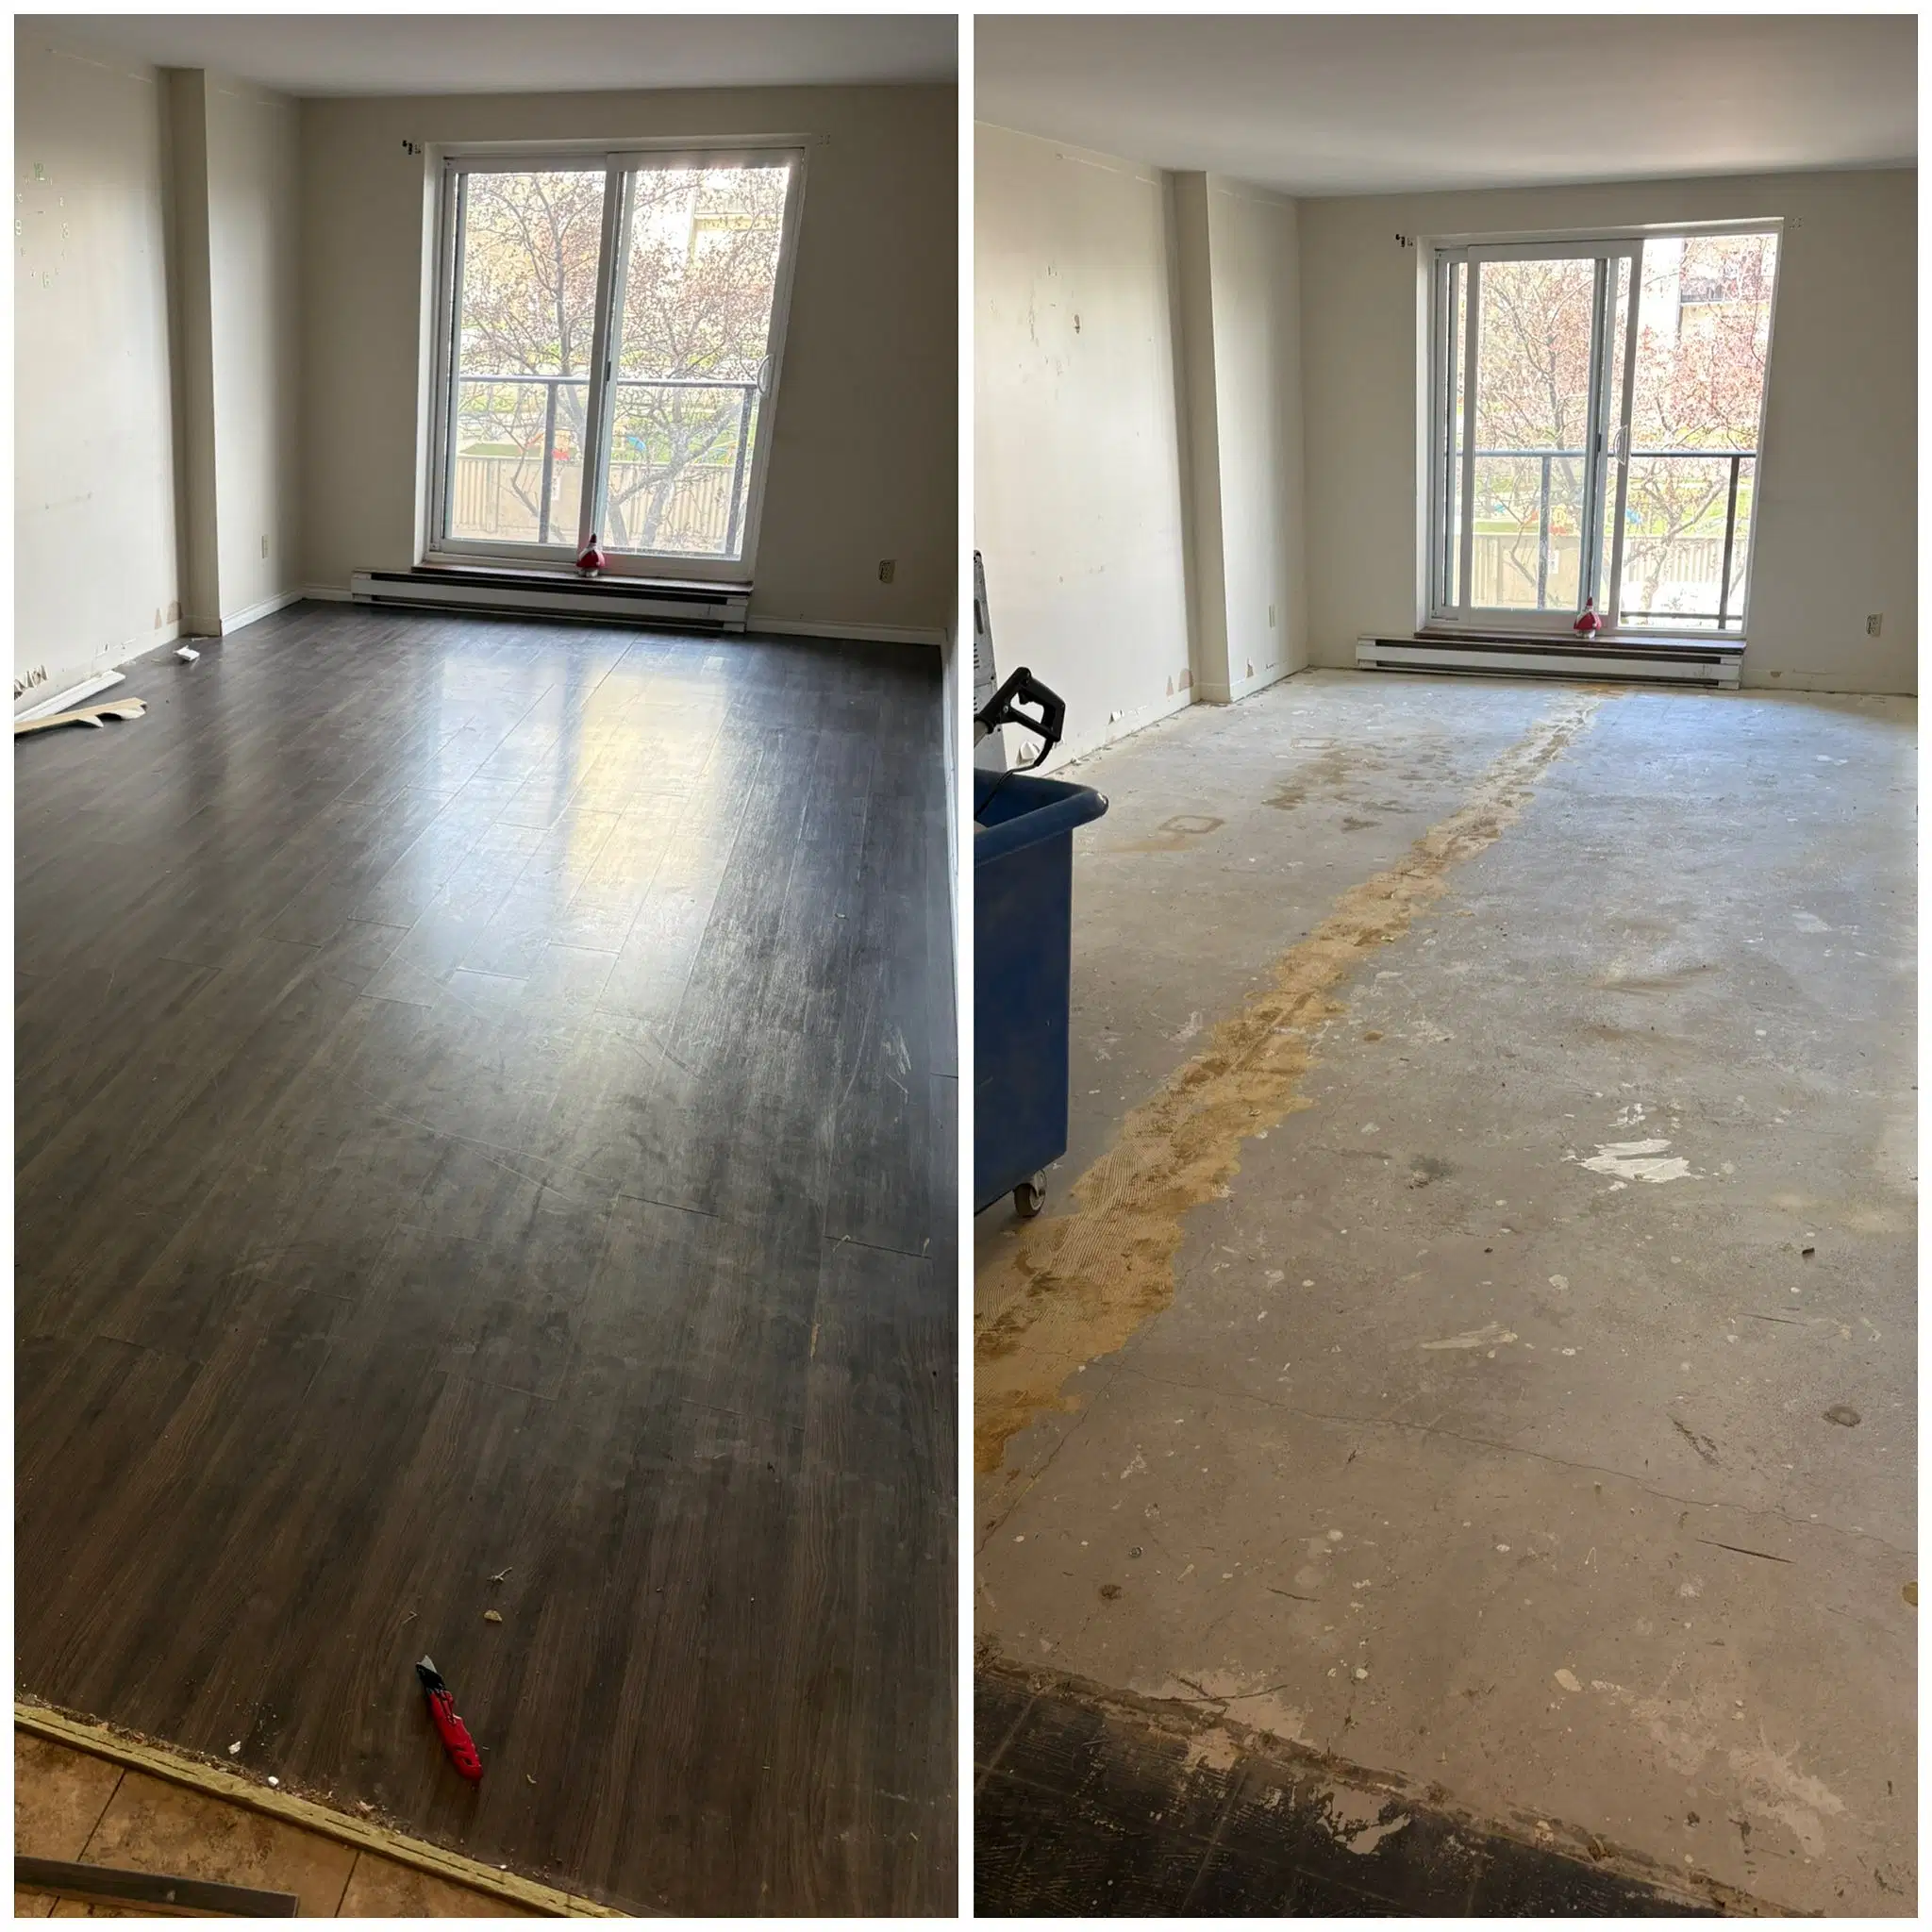
Once the old flooring is gone, you’re not quite ready for the new installation. The subfloor beneath is the true foundation of your new floor, and its condition will determine the final look, feel, and longevity of your investment. A lumpy, uneven, or dirty subfloor can lead to creaks, gaps, and premature wear in your beautiful new flooring.
Proper subfloor preparation involves several meticulous steps:
- Removing All Fasteners: Every single staple, nail, and tack must be pulled to create a smooth surface.
- Scraping Away Residue: Old glue, mortar, or paint needs to be scraped off completely.
- Cleaning Thoroughly: The subfloor must be swept and vacuumed to remove all dust and debris that could interfere with the new flooring adhesive or underlayment.
- Assessing and Repairing: This is the time to check for any damage, such as water stains, cracks, or uneven spots, and make necessary repairs.
A perfectly prepped subfloor is the trademark of a quality installation. This attention to detail is a core part of our small renovations and professional flooring installation services, ensuring a flawless result every time.
Smart & Sustainable: Dealing with Renovation Debris
After the old floor is up, you're left with a surprisingly large pile of debris. Old carpet, splintered wood, broken tiles, and bags of dust can’t simply be left on the curb with your regular garbage. This is considered construction waste, and it requires proper handling and disposal.
Figuring out how to get rid of it is a common pain point for DIYers. It often involves:
- Bagging or bundling heavy, awkward materials.
- Renting a truck or trailer if you don't have one.
- Finding the correct local facility that accepts construction debris.
- Paying disposal fees, which can be unpredictable.
As consumers increasingly prioritize eco-friendly practices, it's also important to consider the environmental impact. A professional service excels here. We sort the materials on-site, diverting wood, underpadding, and other recyclables from the landfill whenever possible. Our dedicated construction debris removal service handles all the logistics, ensuring your project waste is managed responsibly and efficiently, saving you the time and hassle.
Your Partner for a Seamless Flooring Project
A new floor is a significant upgrade to your home, and the project should feel exciting, not overwhelming. By starting with a professional approach to demolition and preparation, you ensure the final result is everything you hoped for.
From carefully tearing out the old materials to prepping the subfloor and managing all the debris, our team handles the tough, dirty work so you can focus on the finish line. We combine the precision of a renovation contractor with the efficiency of a junk removal expert to provide a complete solution.
Ready to start your flooring project in the Kingston or Gananoque area? Contact Blackout Demolition & Landscaping today for a seamless experience, from interior demolition and debris removal to professional flooring installation. Let us help you build your beautiful new room from the ground up.